Step 1 of 12
Download the app
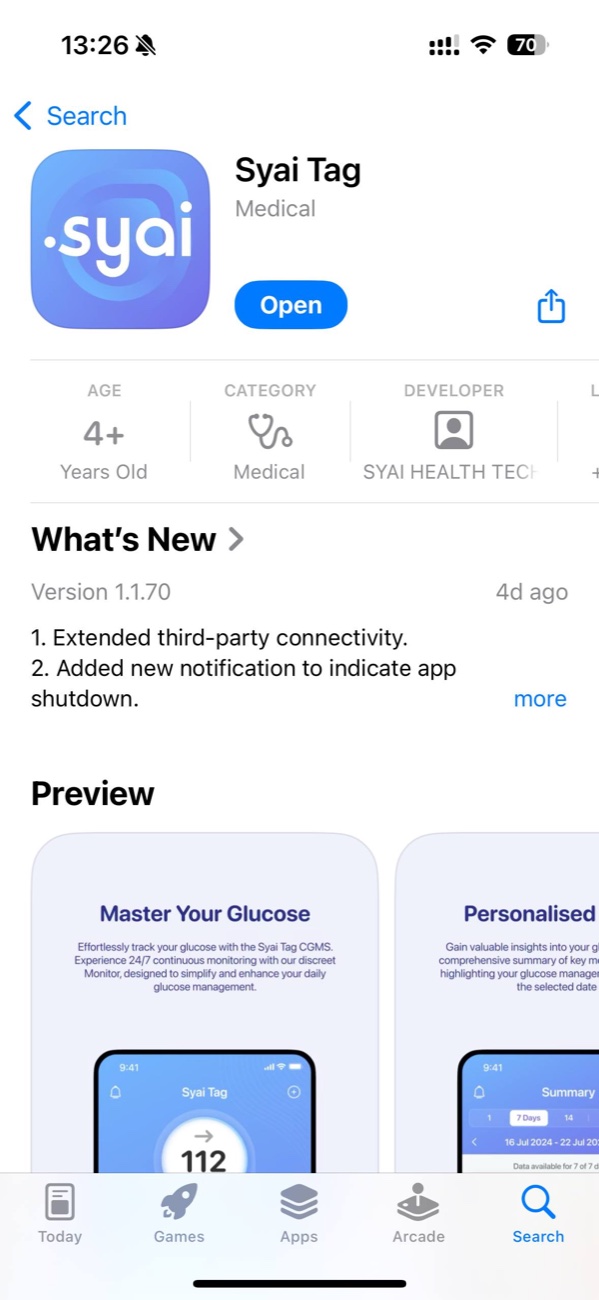
Find and install the Syai app from the App Store or Google Play. Open the store on your phone, search for "Syai", and tap Install.

Step 2 of 12
Step 1. Register
Open the app and tap "Register". If you already have an account, tap "Sign in".

Step 3 of 12
Enter your email
Enter a working email where you can receive a confirmation code. Accept the terms of use and privacy policy.
Step 4 of 12
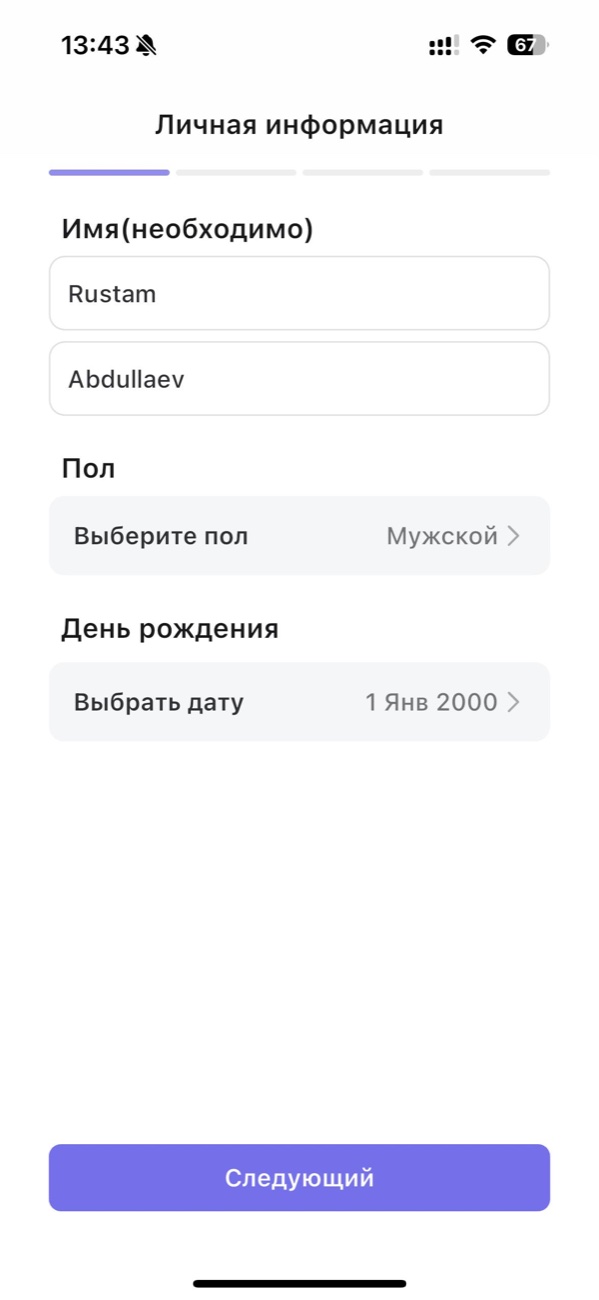
Personal information
Fill in your first name, last name, sex and date of birth. This information is required to calculate the correct glucose target range. The app will also request Bluetooth, notification and location permissions — all of them are required for the sensor to work.

Step 5 of 12
Step 2. Install the sensor
On the Syai home screen, tap "Install new sensor" and follow the on-screen prompts.
Step 6 of 12
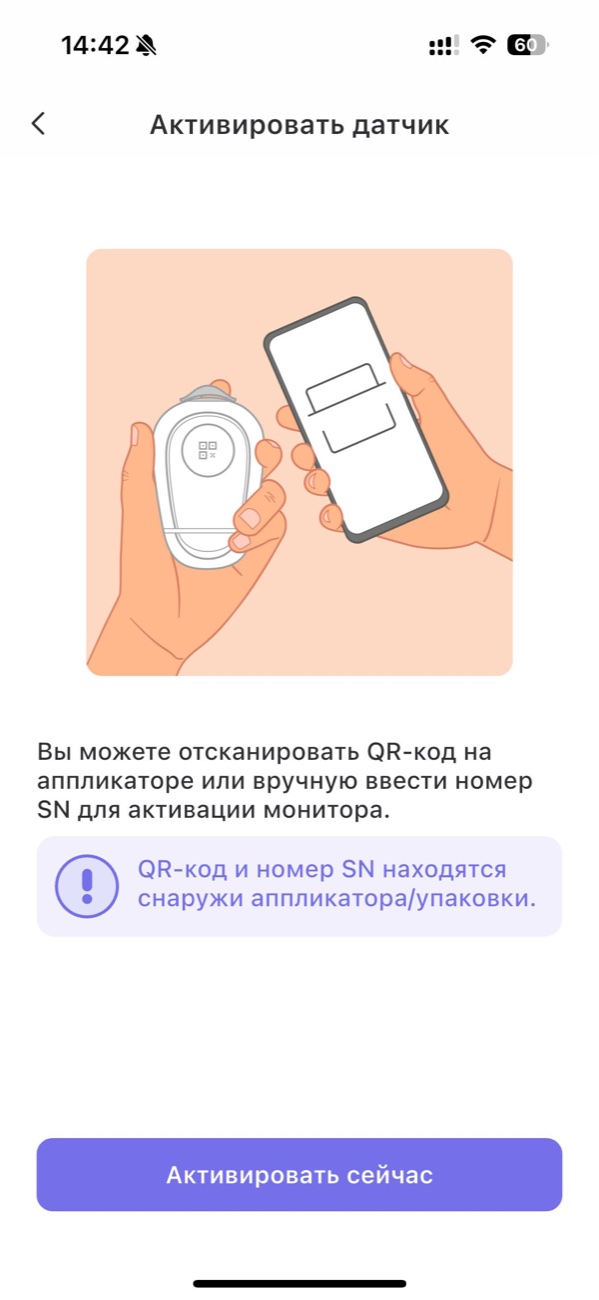
Activate the sensor
Scan the QR code on the applicator, or enter the serial number (SN) manually. The QR code and SN are printed on the outside of the applicator and on the packaging.
Step 7 of 12
Step 3. Wipe the application site
Wipe the application site with alcohol pads and let it dry completely.
Step 8 of 12
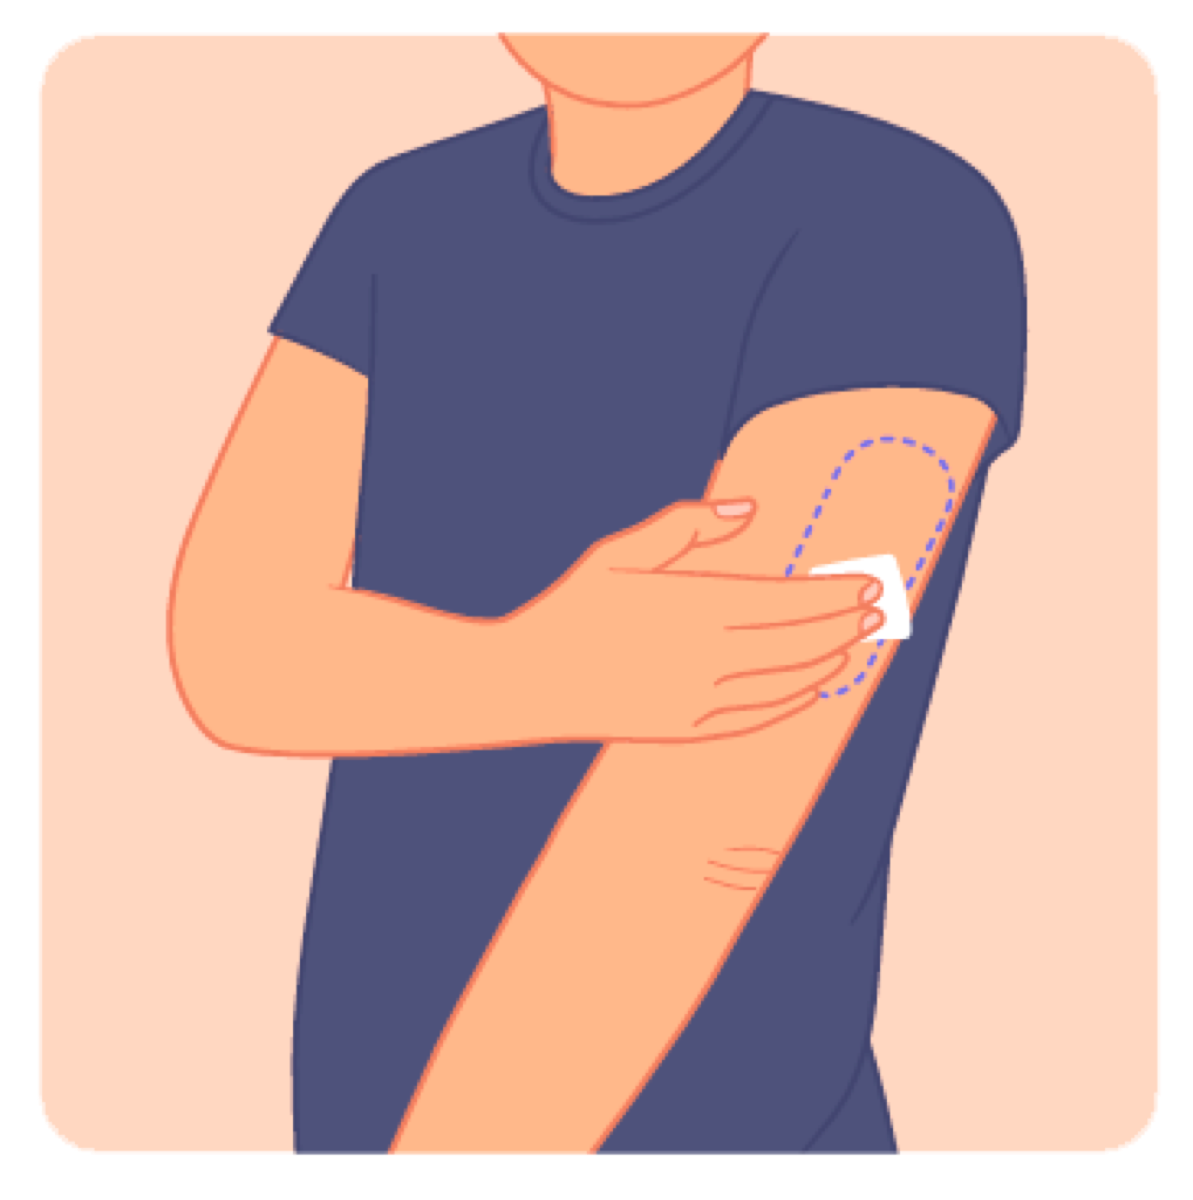
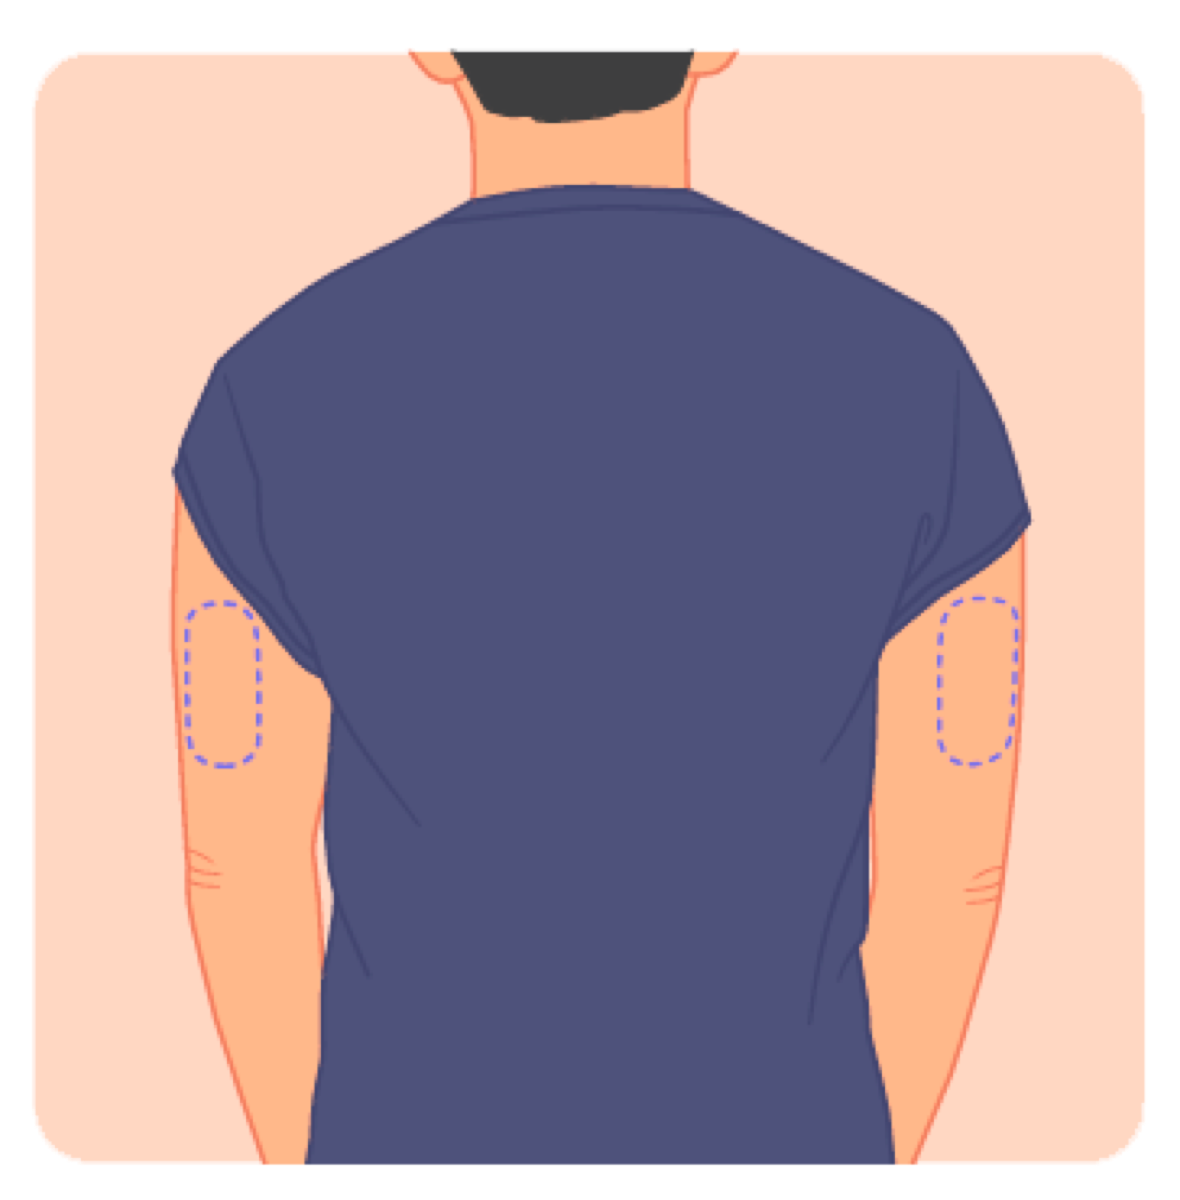
Choose the back of the upper arm
Pick the back of the upper arm — between shoulder and elbow — as the application site. Avoid scars, moles, stretch marks and skin folds.
Step 9 of 12
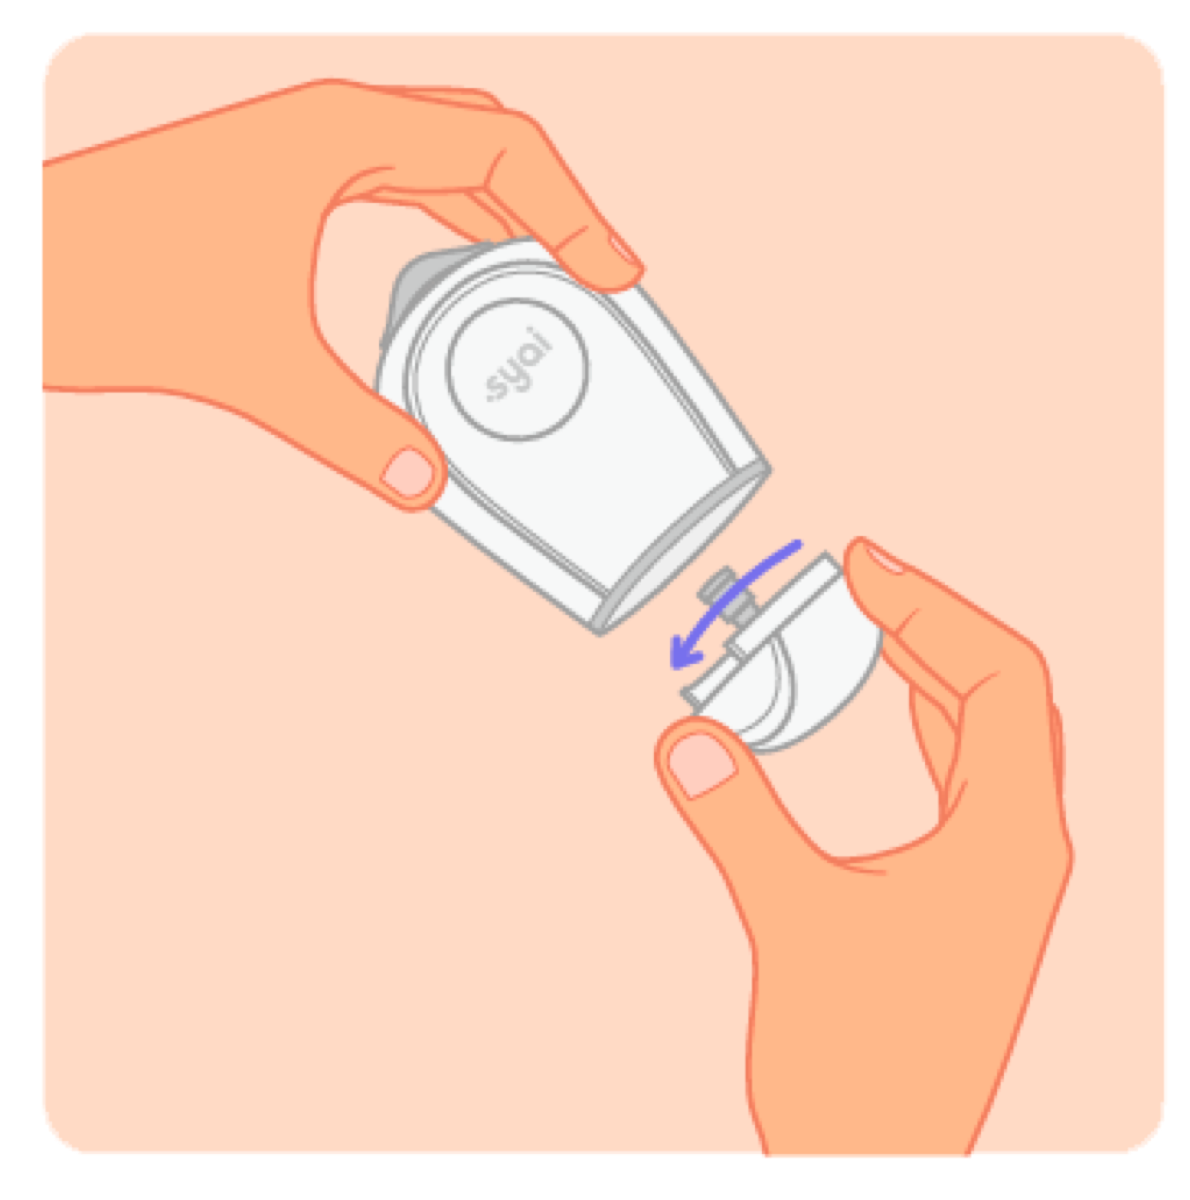
Open the lower applicator cover
Twist and open the lower cover of the applicator. The applicator is ready only once the cover is removed.
Step 10 of 12
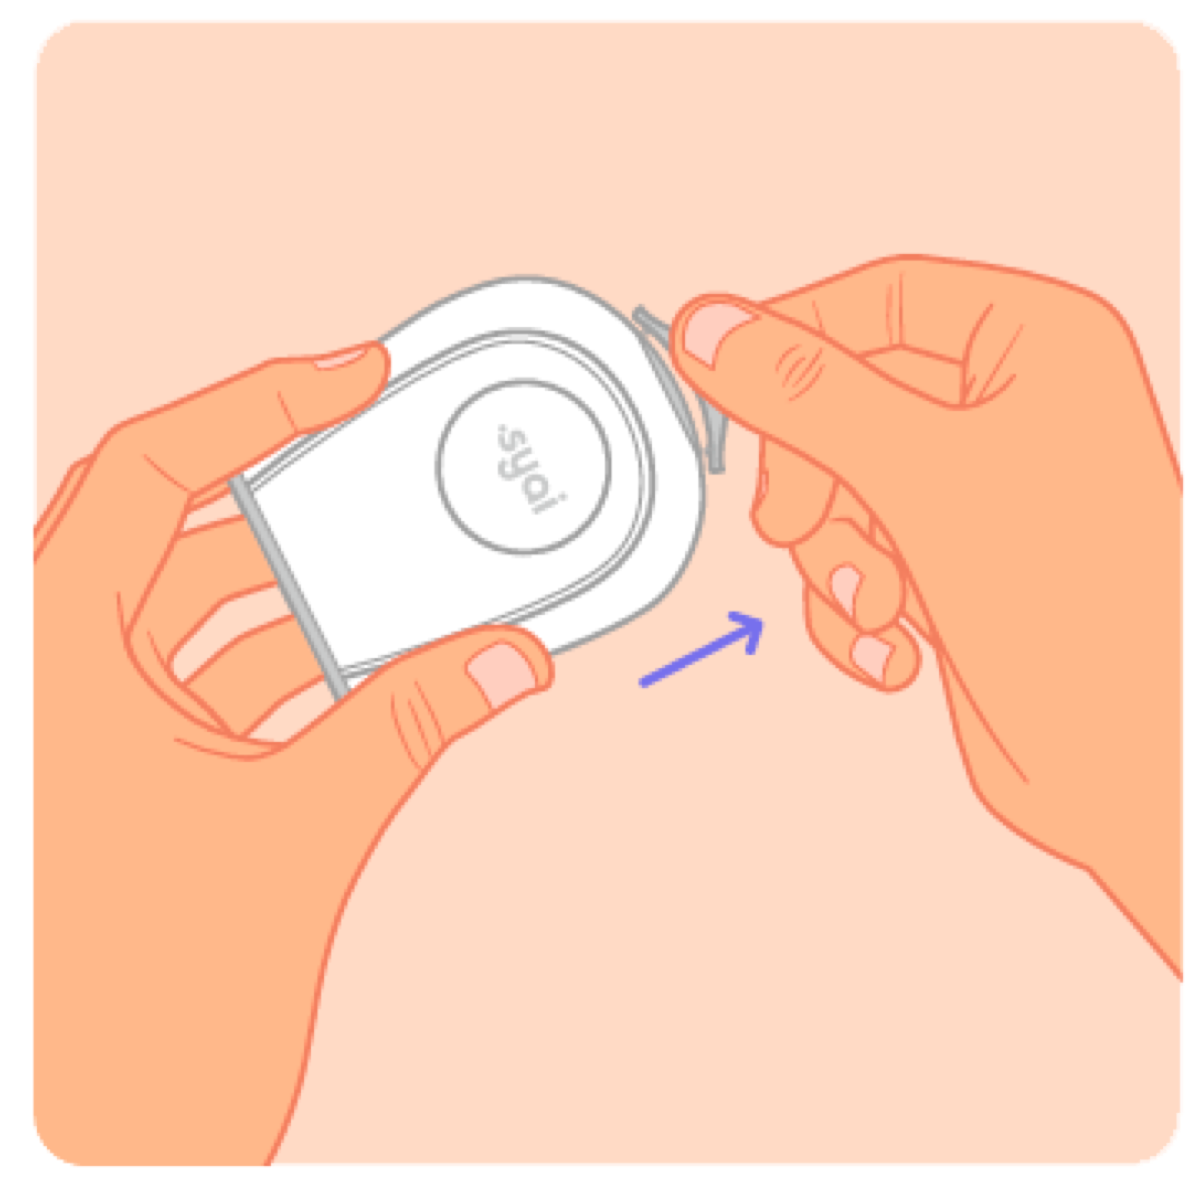
Remove the protective cap
Remove the protective cap from the top of the applicator. Do not touch the sensor with your fingers.

Step 11 of 12
Press the applicator and click the button
Press the applicator firmly against your arm and click the button. Application takes 1 second and is virtually painless.
Step 12 of 12
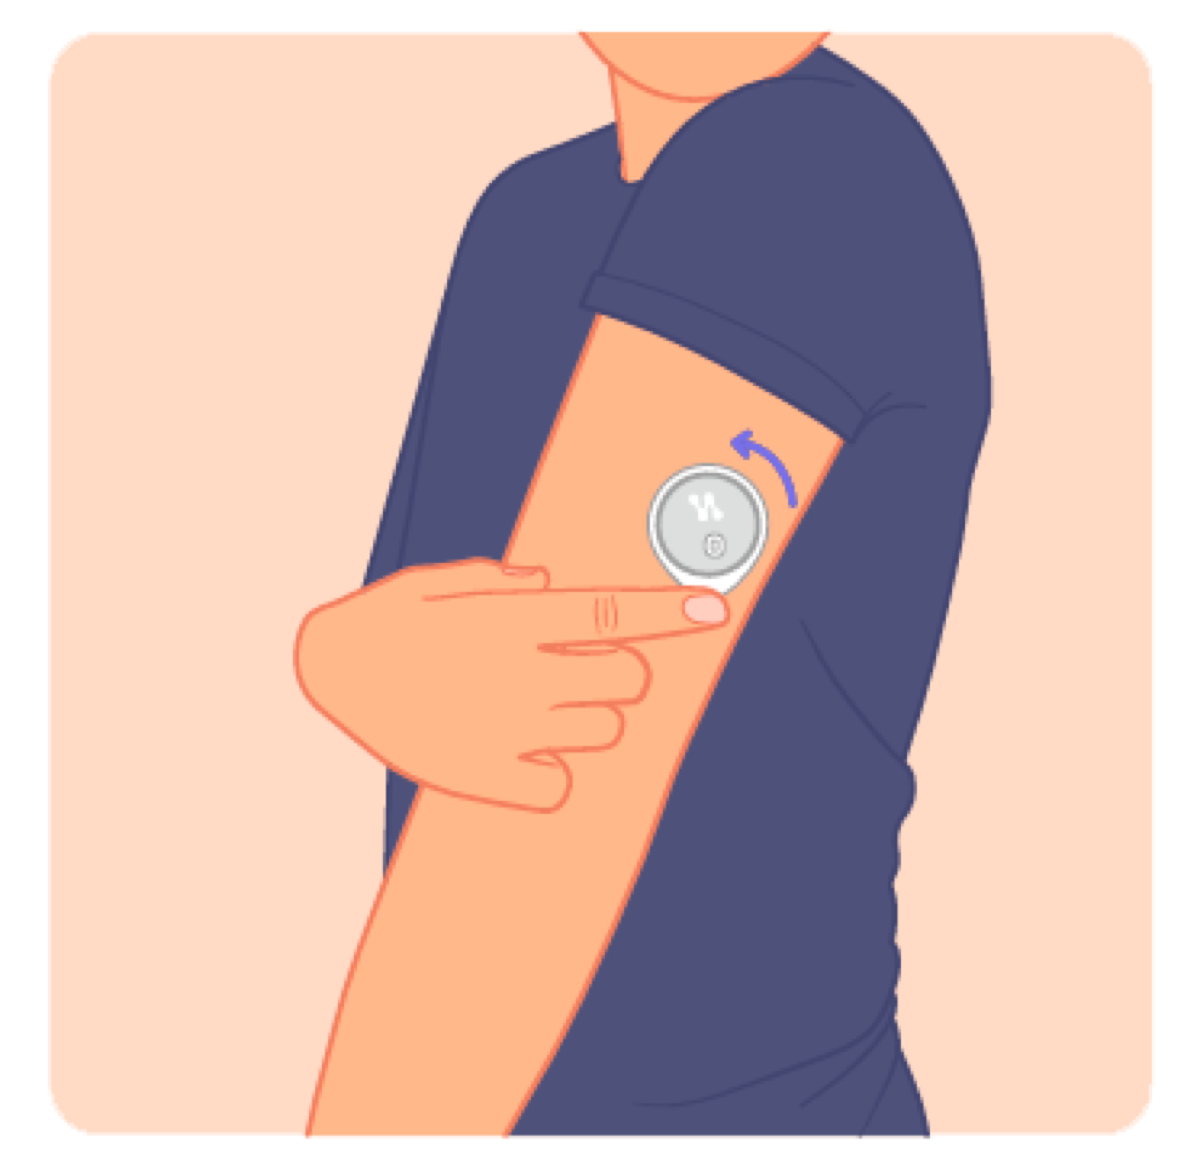
Press the tape edges around the sensor
Gently press the tape around the sensor edge so it sits firmly on the skin. The sensor is set — readings start flowing after a 60-minute warm-up.
Important
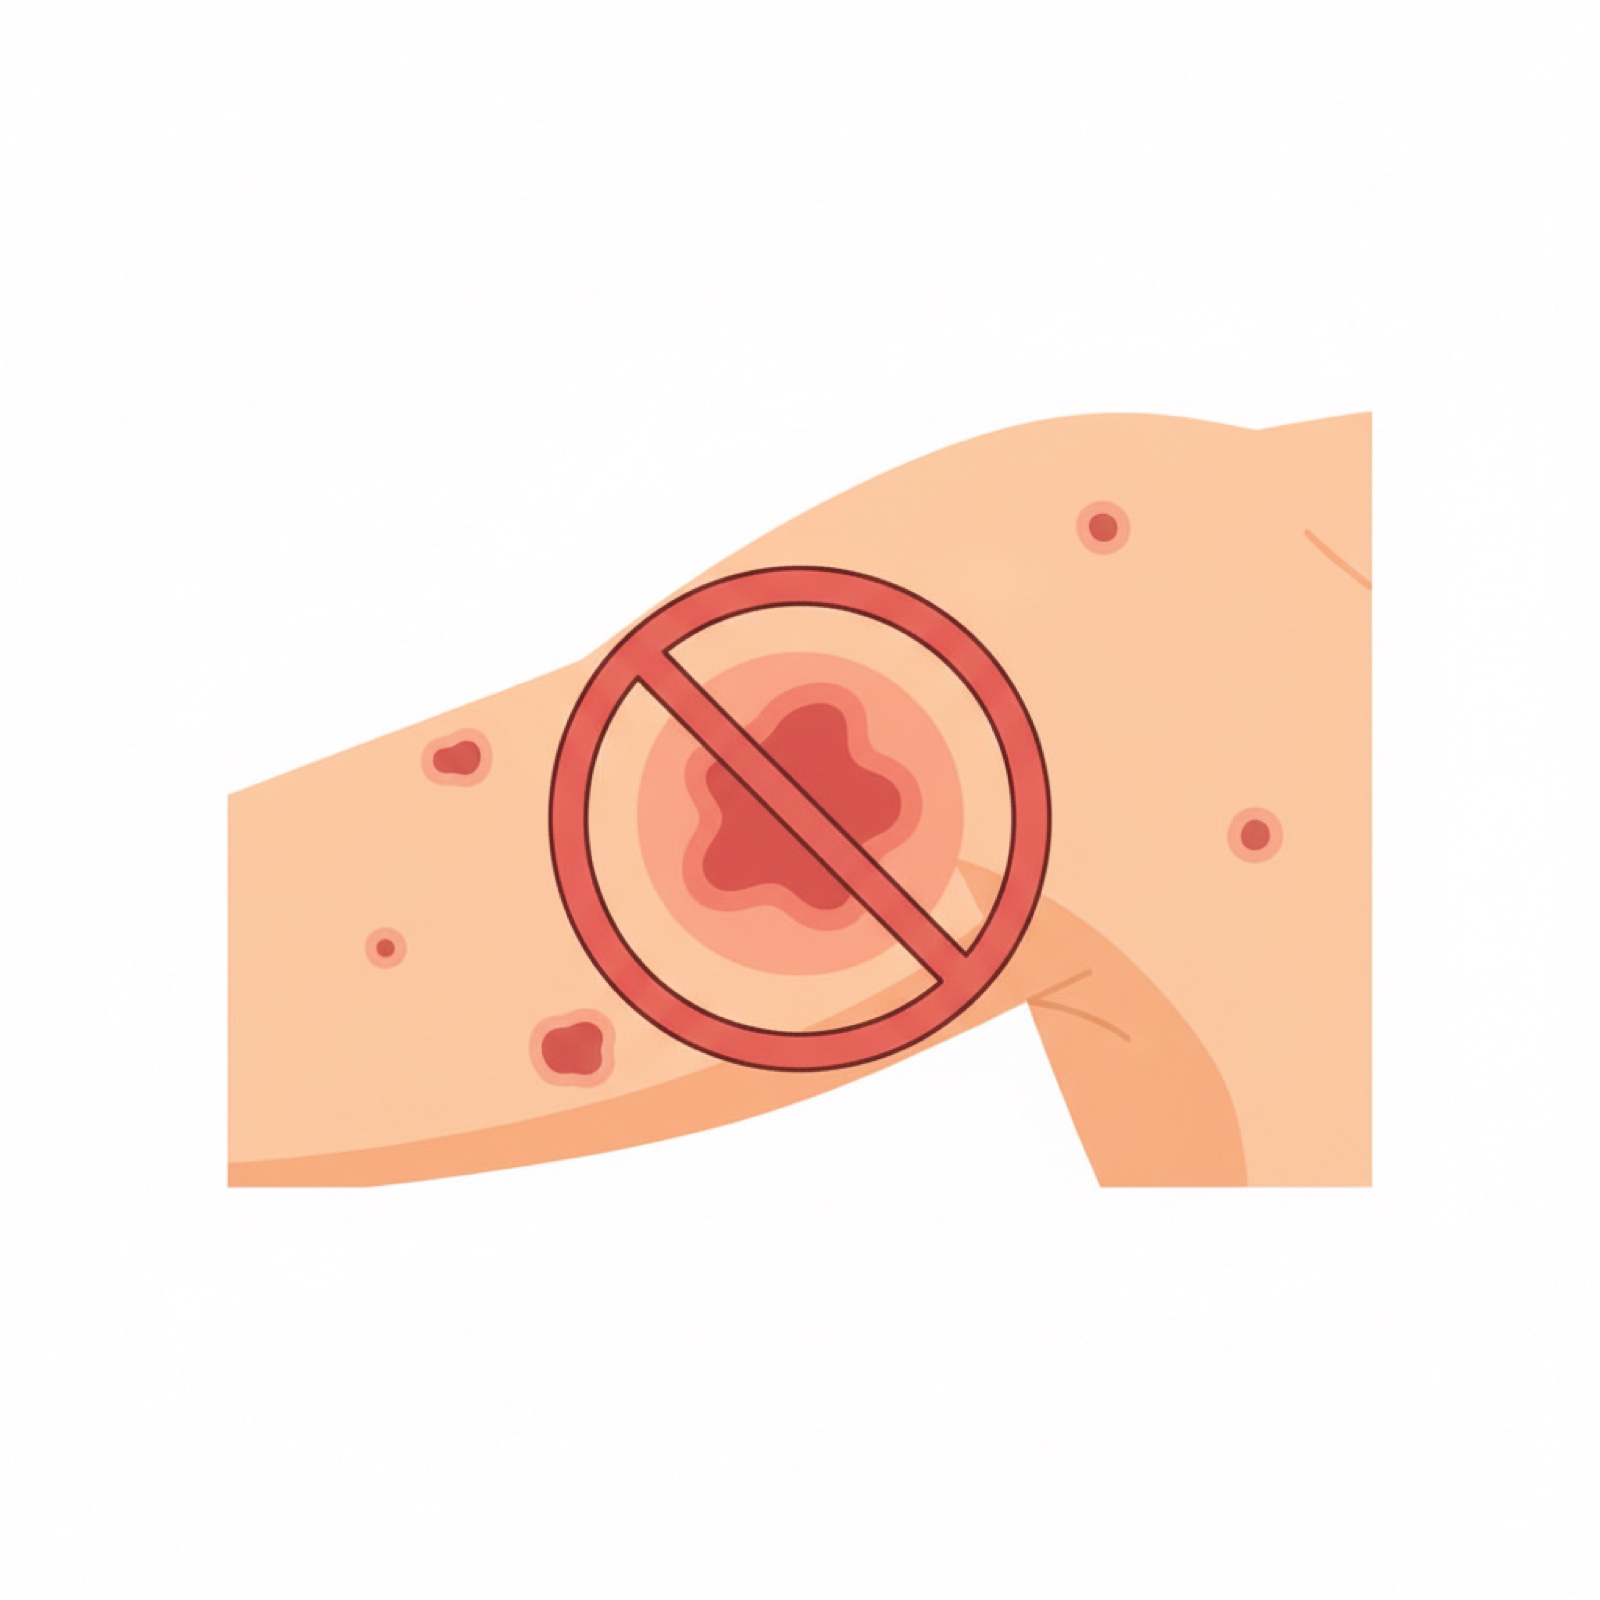
Don't apply to irritated skin
Redness, rash, or an open wound reduce reading quality and can trigger an allergic reaction.

Tip
Switch arms each time
Alternating left and right arms lets the skin rest and extends its tolerance for adhesives.